How Can We Help?
Tools section in Project Viewer
In this article, you will learn more on how to use the Measure tool and Assembly info within a 3D Viewer – Project View.
Measure Tool
Measure tool in the project viewer will help you to check the distance between two assemblies, by choosing 1 point on your current assembly, and the 2nd on another.
If you need to measure the distance between points on the same assembly, head to Assembly View > Tools > Measure.
Measure tool workflow:
- Click on Tools > Measure button.
- Zoom in with your fingers into the area where you want to select your first point.
- Click on Select 1st Point

- Red dots will appear, allowing you to select any of them. That will be your first measure point.
- When the 1st point is selected, choose your 2nd assembly for measurement.
If choose 2nd assembly by mistake, you can click on another one. You will be able to choose another assembly, until you click “Confirm Assembly & Select 2nd Point”. - Once you choose correct 2nd assembly, click “Confirm Assembly & Select 2nd Point“.

- Zoom in/out/Move to the 2nd assembly, and choose your 2nd point there.
You can check this short video below for more details:
Note that you can click on reset to revert your previous action, which is quite helpful when you want to keep the 1st point, but change the 2nd.
![]() You can also use Reset button on the right to reset all actions.
You can also use Reset button on the right to reset all actions.
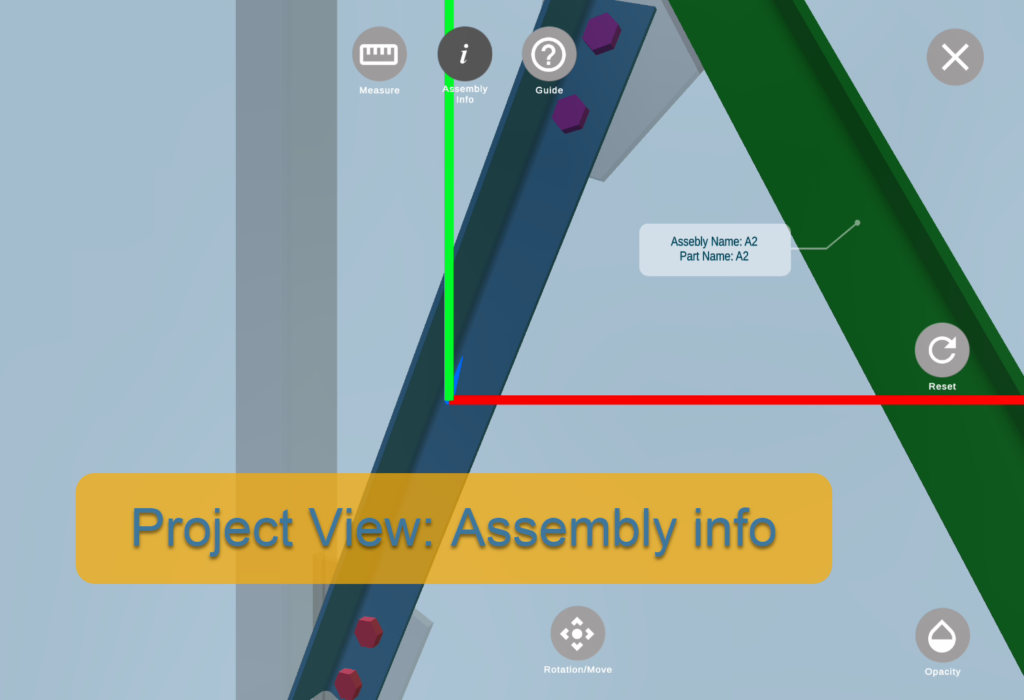
Assembly info
Currently, Assembly info can help you to identify the assembly name and part name of any assembly uploaded to the project.


